Enhance Torque Wrench Calibration Precision with FUTEK's TDF Series
In assembly lines, torque wrenches are essential for tightening fasteners—such as screws, nuts, and bolts—to precise torque specifications, ensuring product integrity and longevity. For instance, in automotive manufacturing, correctly torqued fasteners contribute to vehicle durability and ease of maintenance. Similarly, in commercial applications like appliance repair, technicians rely on accurate torque to prevent over-tightening, which can damage threads and compromise functionality.
The accuracy of torque measurements is paramount. Over time and with regular use, torque wrenches can drift out of calibration, leading to inaccurate readings. Industry standards recommend recalibrating torque wrenches after every 5,000 cycles or every 6 to 12 months, whichever comes first, to maintain reliability. Neglecting regular calibration can result in improper torque application, potentially causing mechanical failures or safety hazards.
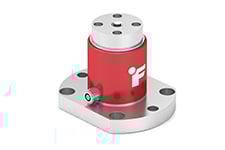
To ensure precision in torque applications, integrating high-quality reaction torque sensors into calibration tools is crucial. FUTEK's TDF Series Reaction Torque Sensors, constructed from 17-4 stainless steel with aluminum covers, are designed specifically for auditing and calibrating mechanical torque wrenches. These sensors utilize metal foil strain gauge technology, offering exceptional accuracy and repeatability. Their robust construction and precise measurement capabilities make them ideal for critical applications in production and automated assembly environments.
By embedding FUTEK's TDF Series sensors into your calibration tools, you enhance the accuracy and reliability of torque measurements, ensuring that torque wrenches perform optimally in critical applications. Additionally, FUTEK provides mounting plates to facilitate the integration of these sensors into your calibration setup.
Calibration Frequency Recommendations
Regular calibration of torque wrenches is essential to maintain measurement accuracy. The frequency of calibration depends on usage intensity and environmental conditions:
- Standard Usage: For typical applications, calibrate torque wrenches every 5,000 cycles or every 6 to 12 months, whichever comes first.
- High-Volume or Critical Applications: In high-volume production environments or applications where precision is critical, more frequent calibration may be necessary. Consulting with a certified calibration provider can help establish an appropriate calibration schedule tailored to your operational needs.
- Post-Incident Calibration: If a torque wrench is dropped or subjected to mechanical shock, immediate recalibration is recommended to ensure continued accuracy.
How it Works
FUTEK’s TDF Series is an efficient torque wrench calibration tool to use when auditing torque wrenches.
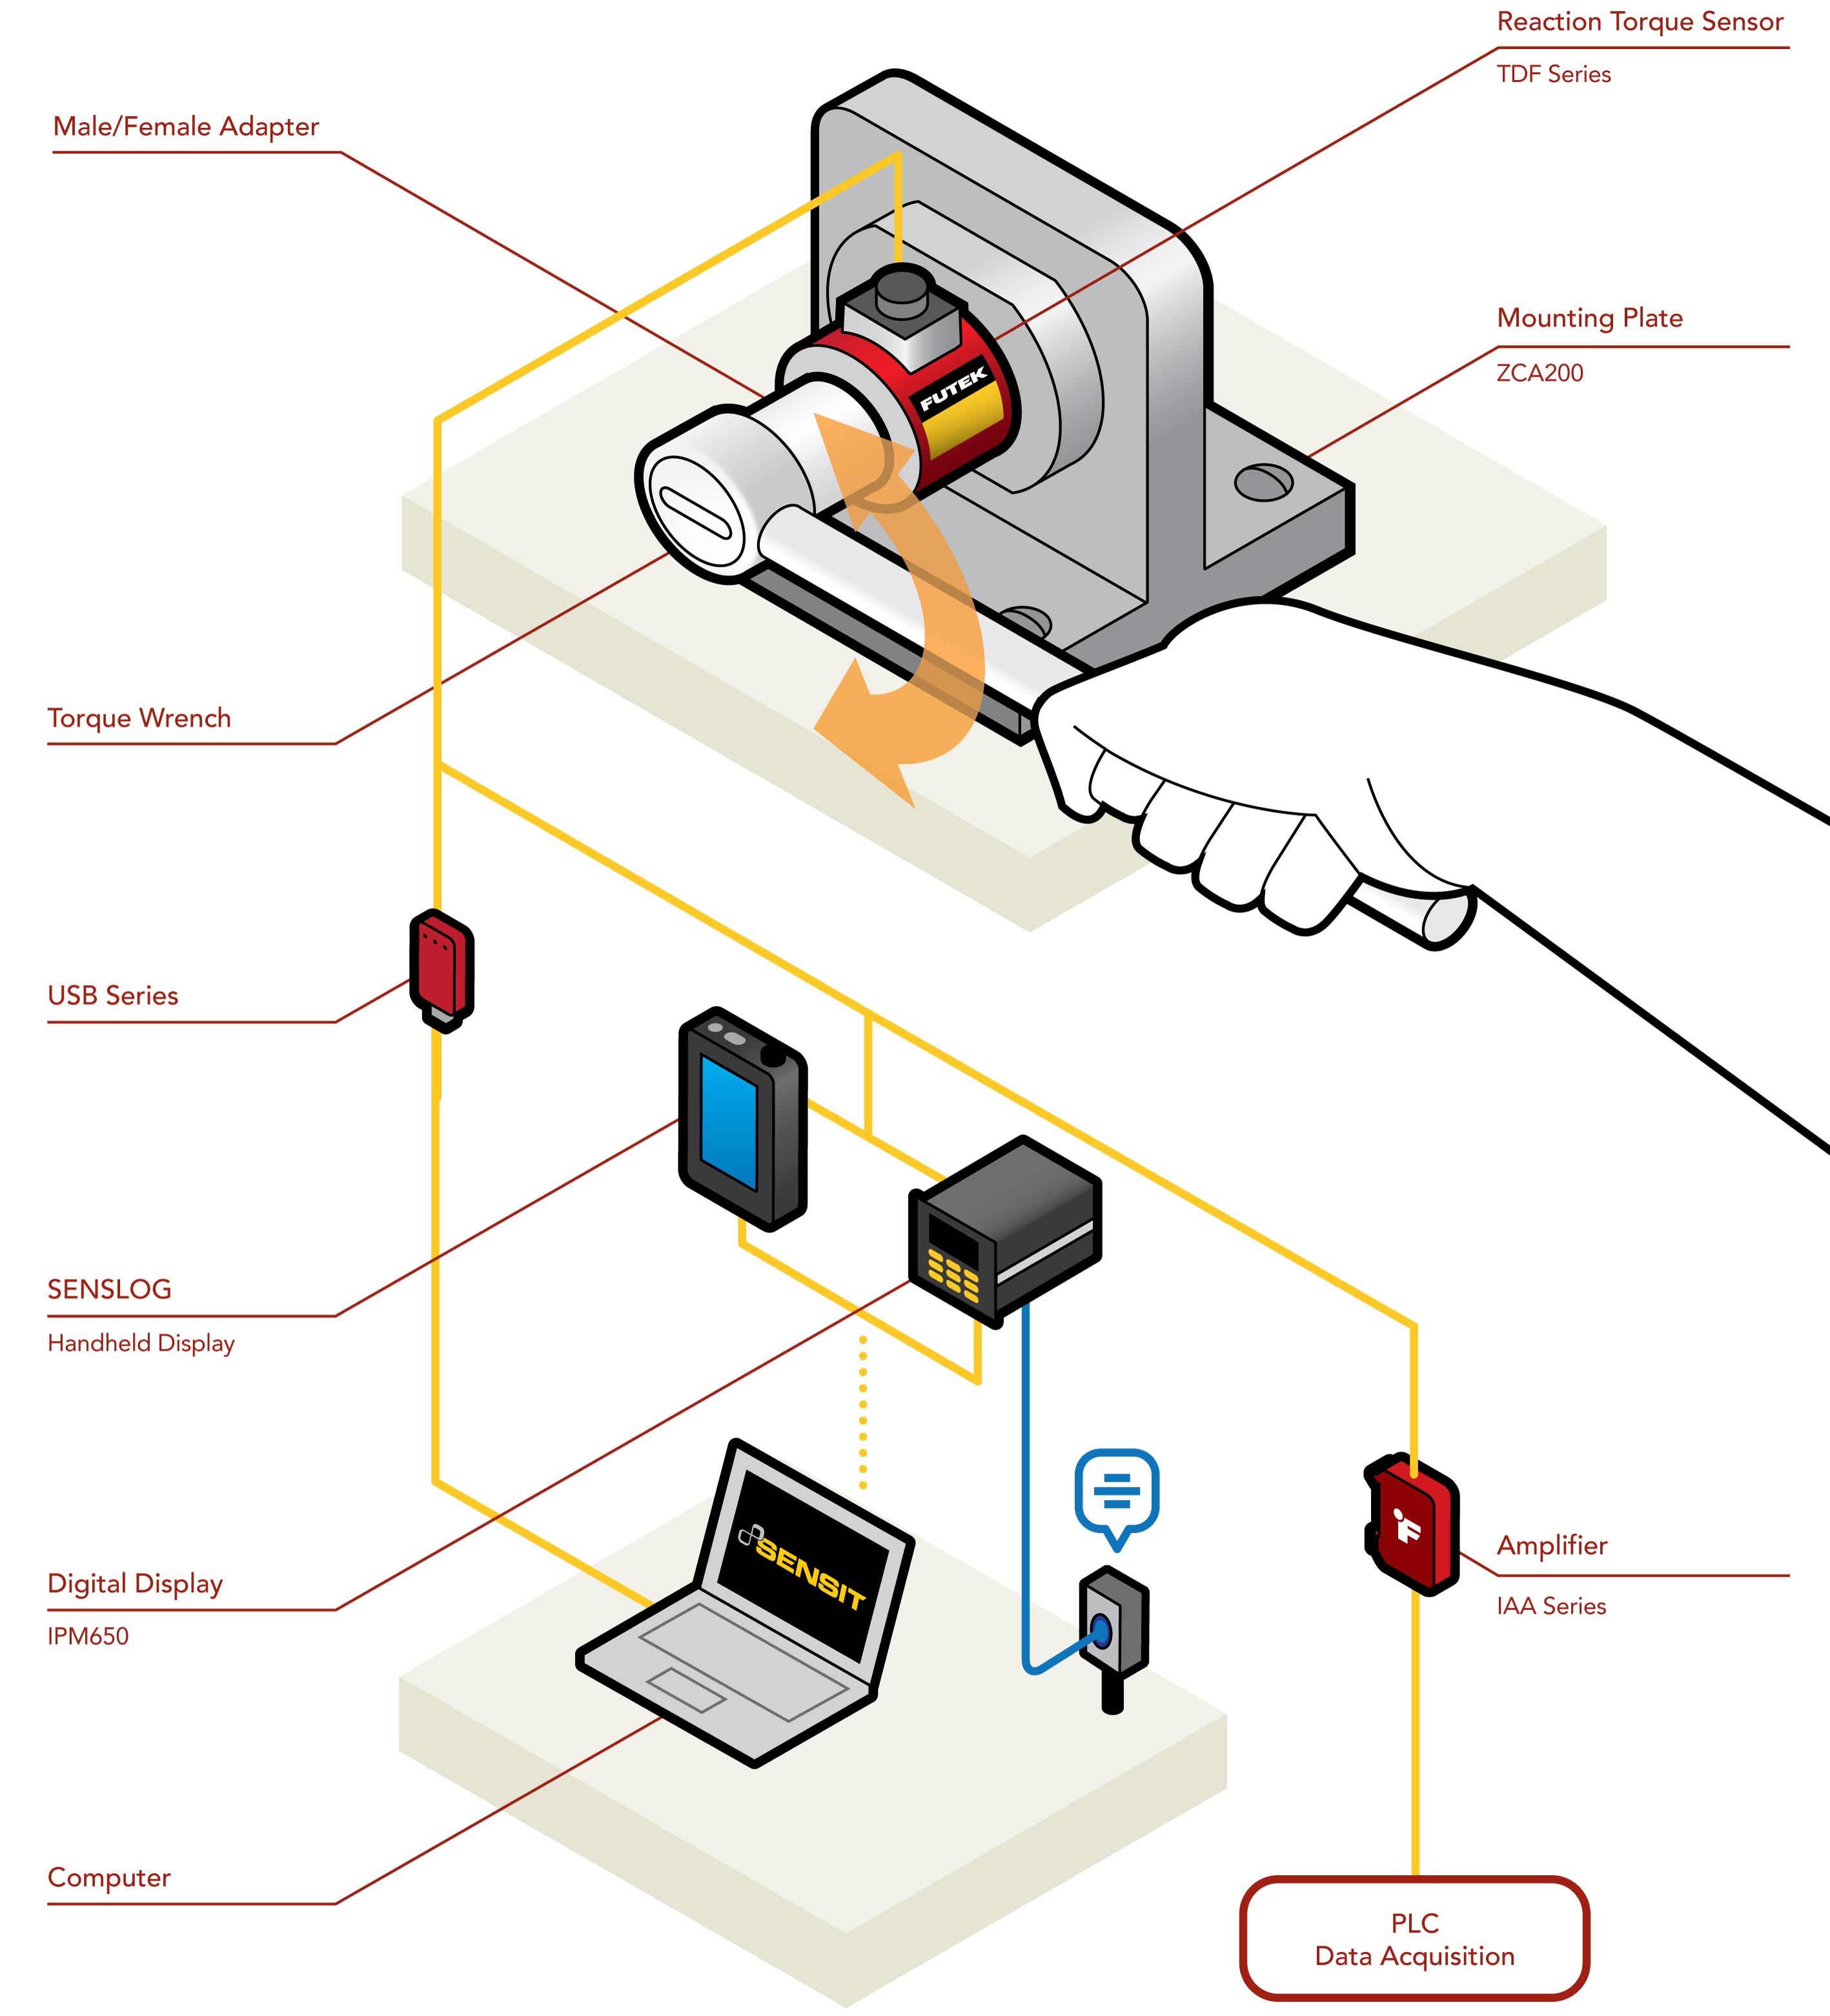
In this application, the TDF Reaction Torque Sensor is fixed to a mounting plate and coupled to a torque wrench using a male/female adapter.
As the operator ratchets the torque wrench up and down, FUTEK’s TDF Sensor will measure the torque being applied.
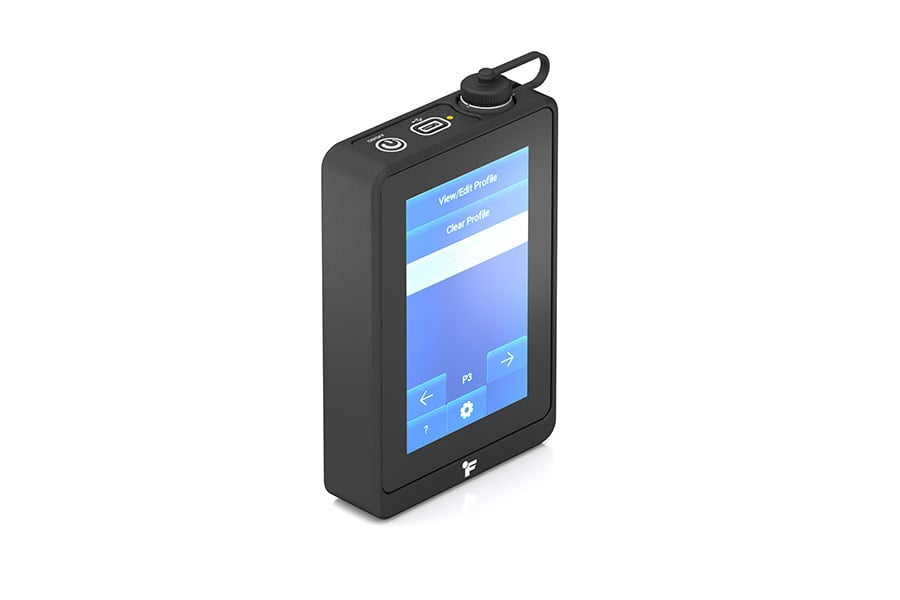
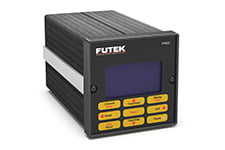
These measurements are sent directly to a paired instrument. Depending on instrument selection, the operator can either view the data on a digital display (SENSLOG Handheld Display or IPM650 Panel Mount Display) or stream the data directly onto a PC.
If the data shows any anomalies, the torque wrench may be in need of a recalibration to meet its intended spec.
Every sensor is prone to measurement errors. These structural uncertainties are the simply algebraic difference between the value that is indicated by the sensor output versus the actual value of the measured variable, or known reference loads. Measurement errors can be caused by many factors:
1) Zero offset (or load cell zero balance)
2) Linearity (or non-linearity)
3) Hysteresis
4) Repeatability (or non-repeatability)
5) Temperature Shift Span and Zero
For more information about torque sensor calibration, visit our Torque Transducer Calibration Page.
Products in Use
The Reaction Torque Sensor (TDF Series) paired with Instrumentation (IPM650 Panel Mount Display, SENSLOG Handheld Display or USB Solution) and necessary fixturing allowing torque wrench calibration tool to be performed.
Contact Us
Please Contact Us with questions.
Enhance Torque Wrench Calibration Precision with FUTEK's TDF Series
In assembly lines, torque wrenches are essential for tightening fasteners—such as screws, nuts, and bolts—to precise torque specifications, ensuring product integrity and longevity. For instance, in automotive manufacturing, correctly torqued fasteners contribute to vehicle durability and ease of maintenance. Similarly, in commercial applications like appliance repair, technicians rely on accurate torque to prevent over-tightening, which can damage threads and compromise functionality.
The accuracy of torque measurements is paramount. Over time and with regular use, torque wrenches can drift out of calibration, leading to inaccurate readings. Industry standards recommend recalibrating torque wrenches after every 5,000 cycles or every 6 to 12 months, whichever comes first, to maintain reliability. Neglecting regular calibration can result in improper torque application, potentially causing mechanical failures or safety hazards.
To ensure precision in torque applications, integrating high-quality reaction torque sensors into calibration tools is crucial. FUTEK's TDF Series Reaction Torque Sensors, constructed from 17-4 stainless steel with aluminum covers, are designed specifically for auditing and calibrating mechanical torque wrenches. These sensors utilize metal foil strain gauge technology, offering exceptional accuracy and repeatability. Their robust construction and precise measurement capabilities make them ideal for critical applications in production and automated assembly environments.
By embedding FUTEK's TDF Series sensors into your calibration tools, you enhance the accuracy and reliability of torque measurements, ensuring that torque wrenches perform optimally in critical applications. Additionally, FUTEK provides mounting plates to facilitate the integration of these sensors into your calibration setup.
Calibration Frequency Recommendations
Regular calibration of torque wrenches is essential to maintain measurement accuracy. The frequency of calibration depends on usage intensity and environmental conditions:
- Standard Usage: For typical applications, calibrate torque wrenches every 5,000 cycles or every 6 to 12 months, whichever comes first.
- High-Volume or Critical Applications: In high-volume production environments or applications where precision is critical, more frequent calibration may be necessary. Consulting with a certified calibration provider can help establish an appropriate calibration schedule tailored to your operational needs.
- Post-Incident Calibration: If a torque wrench is dropped or subjected to mechanical shock, immediate recalibration is recommended to ensure continued accuracy.


